Our laboratory is designed specifically to conduct high-precision measurements of unconventional reservoirs that interface with nanofluidics and nanomechanics. Our work is combined with measurements conducted at other locations. Standard measurements, conducted on core plugs or blocks, are used to test our results, but they are not the main focus of our research.
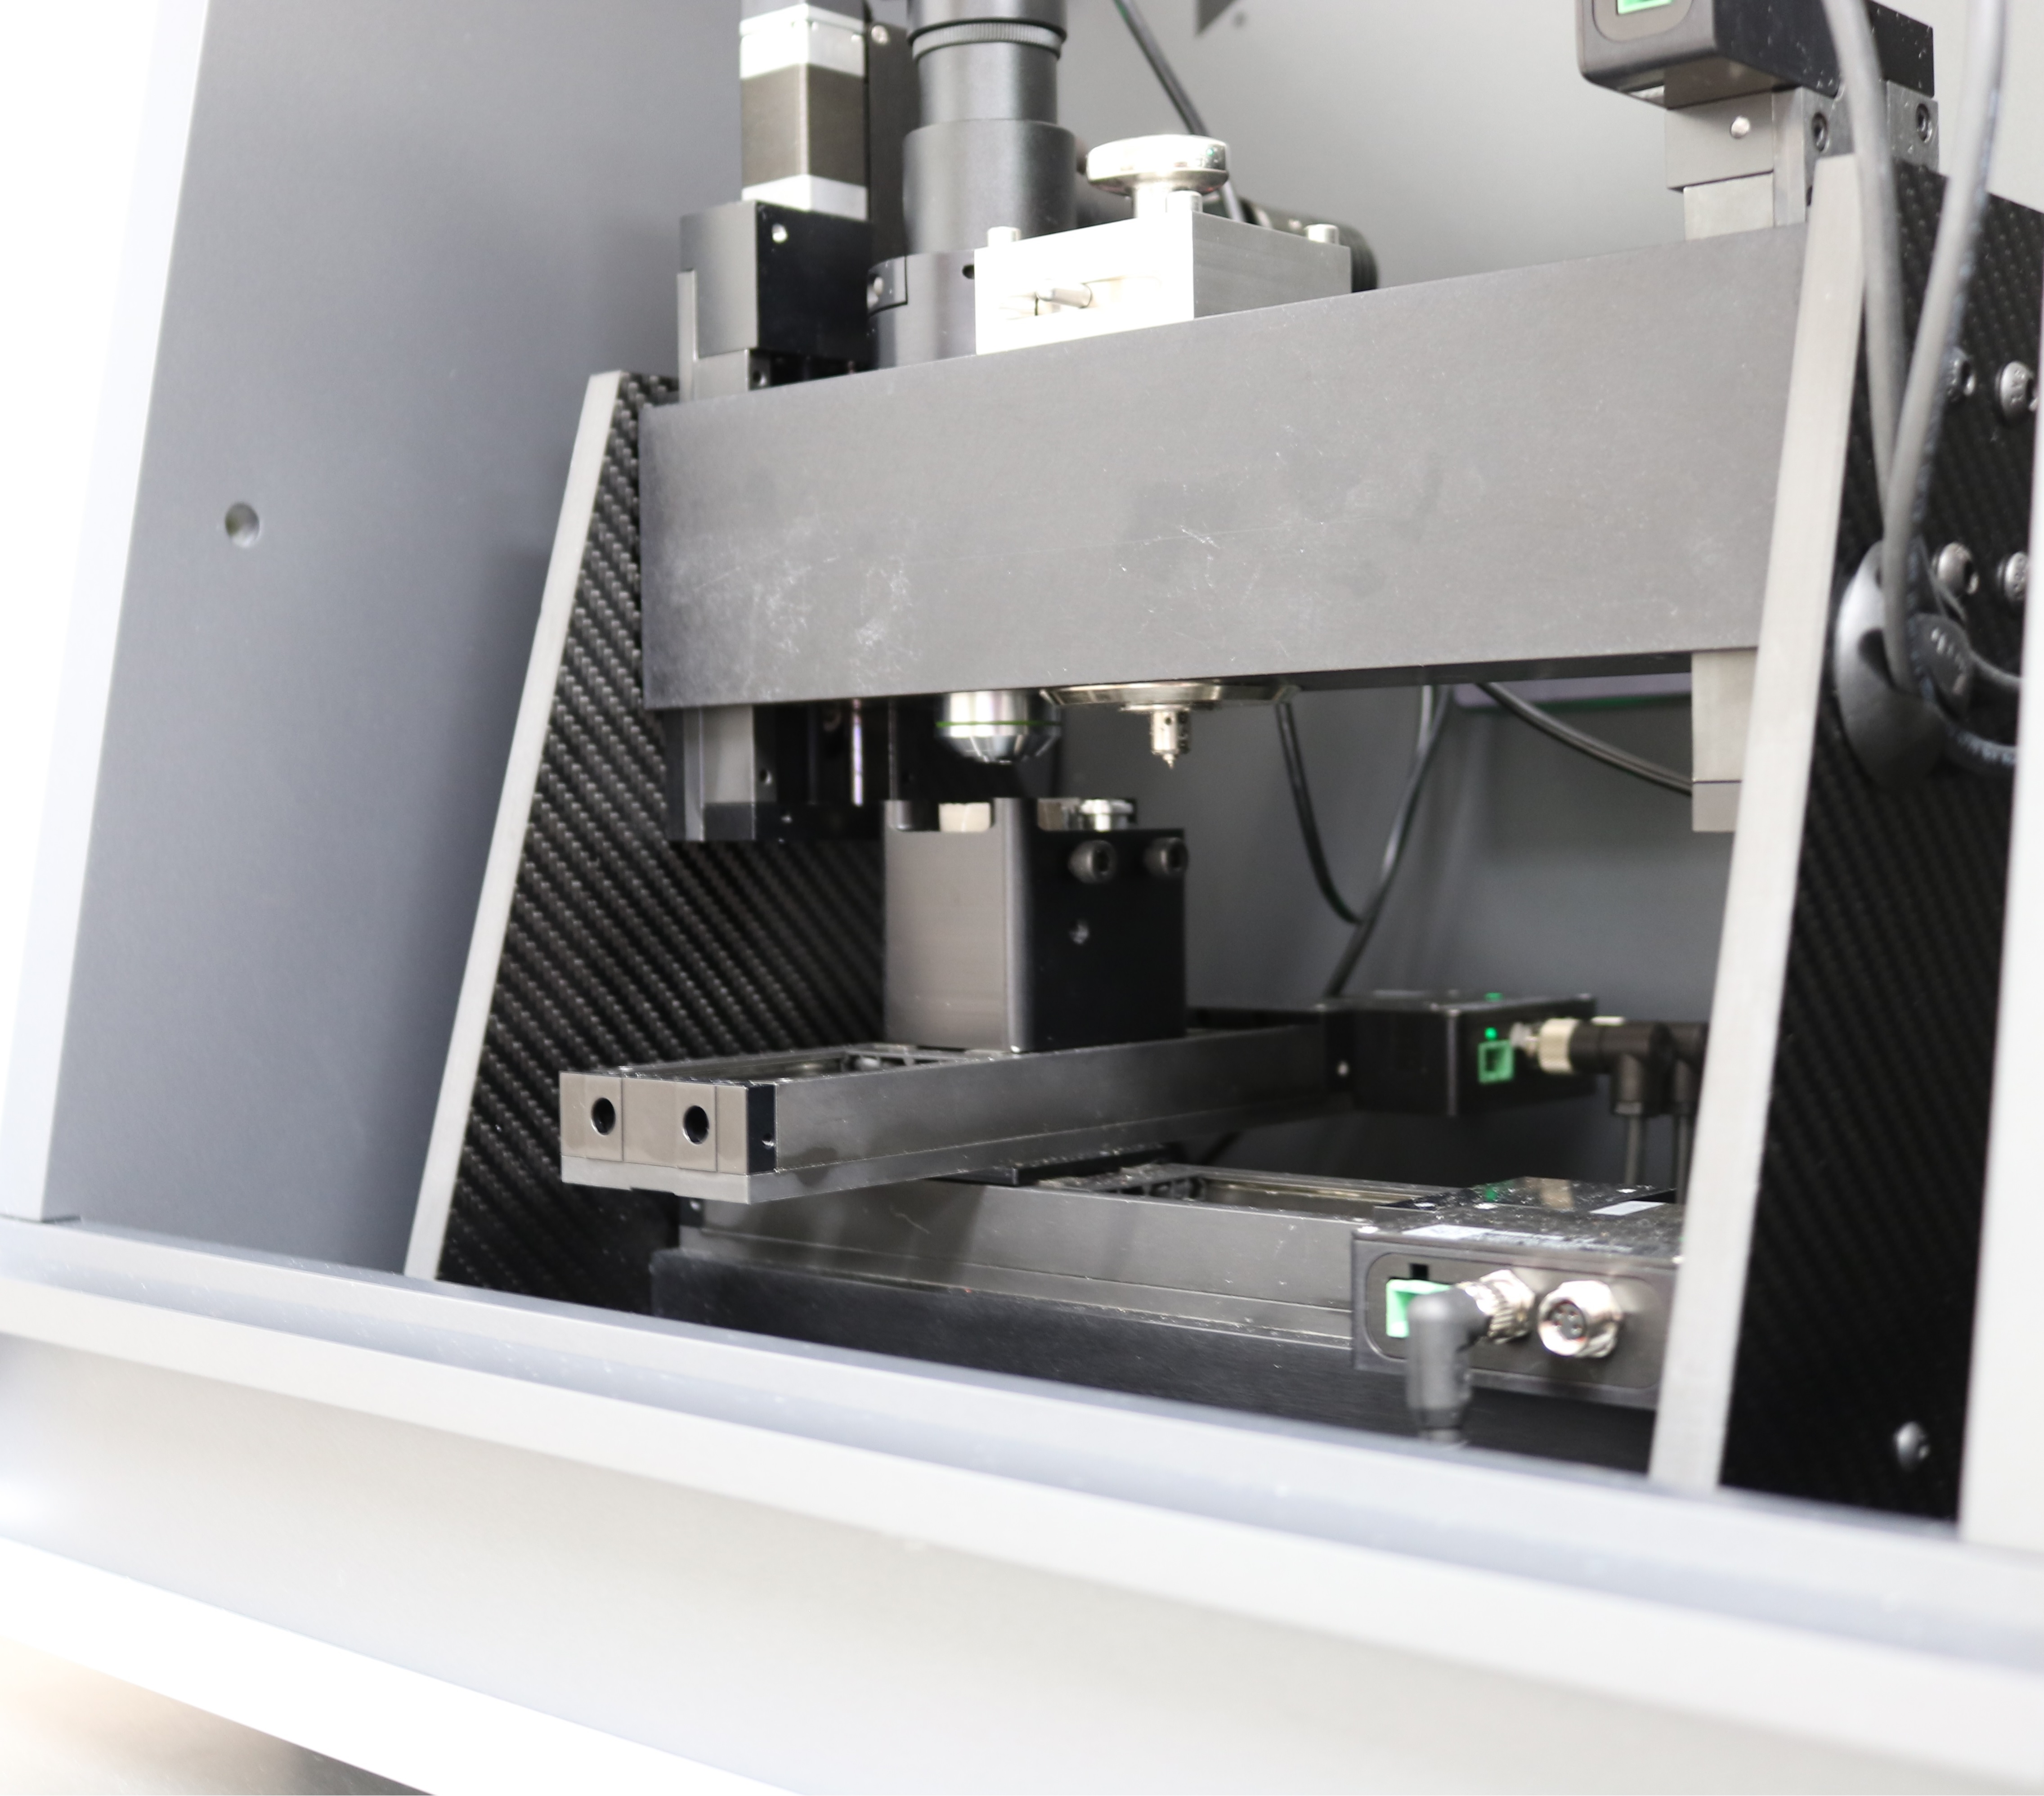 The nanoindenter combines a force-generation mechanism with a displacement sensor. The displacement is sensed capacitively. An integrated video-microscope is included with an 800x optical microscope with digital zoom (displacement range: 80 microns, displacement resolution: 0.04 nm, typical noise < 0.25 nm, load application: coil/magnet, maximum load: 1 N, load resolution: 6 nN, loading column mass: < 5 g, typical indenter normal stiffness: 200 N/m, damping coefficient: 0.1 N-s/m, resonant frequency: 15 Hz, data acquisition rate: 100 kHz.)
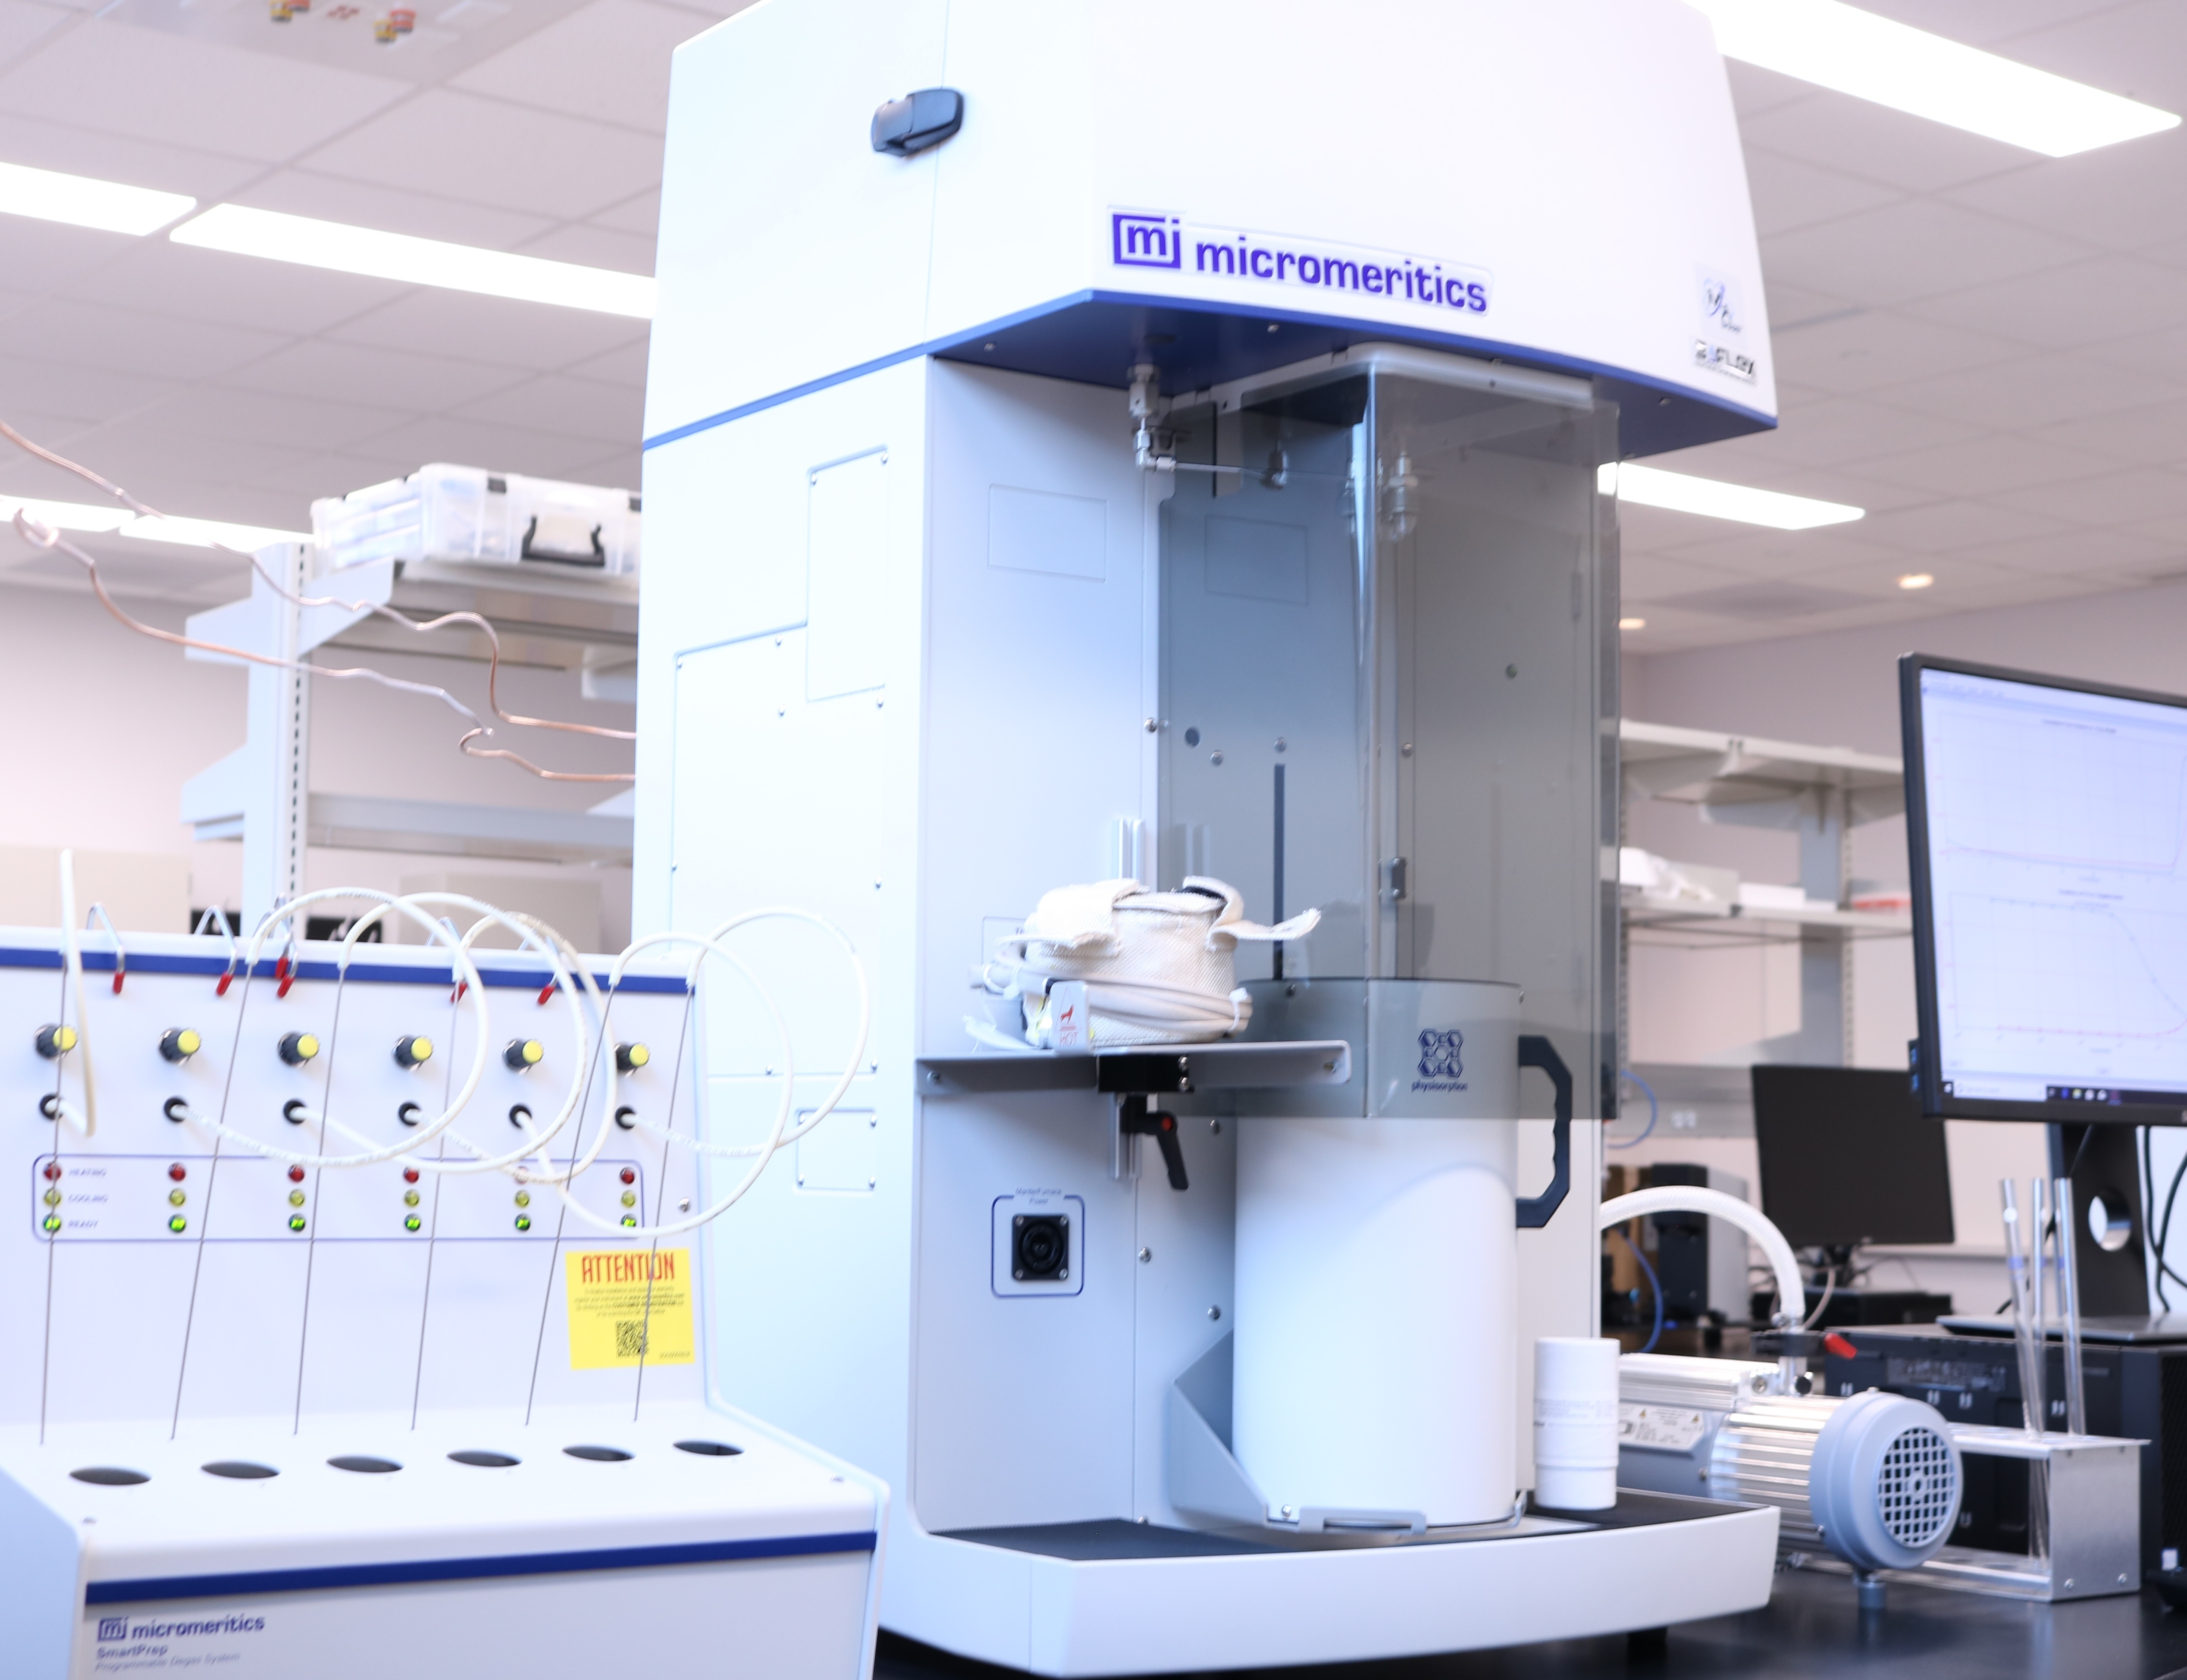 The multiport physisorption analyzer is fully automated and has three stations for different analyses. It determines the intertwined relationships between surface area, pore volume, and capacity. It provides valuable insight into structural and chemical heterogeneity. It reports the isotherm, BET surface area, Langmuir surface area, t-plot, BJH adsorption and desorption, and pore-size distribution.
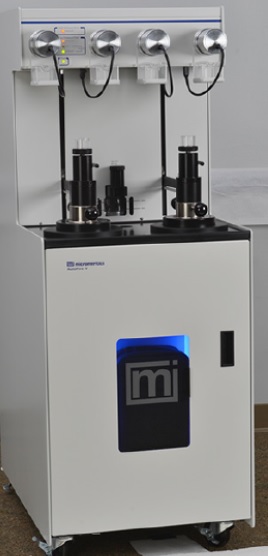 The Autopore V increases the capillary pressure up to 60,000 psi during mercury injection (drainage) and withdrawal (imbibition). It also applies the conformance correction.
 Surface polisher and grinder: An automatic, microprocessor-controlled machine for grinding and polishing of specimens on a 250 mm MD-Disc with a cone (removal: 50 – 5000 μm, disc: 40-600 rpm, head: 50-150 rpm, specimen holder: 30-300 N, noise level: 47 dBA at idle running, 54 dBA at polishing, and 56 dBA at grinding.)
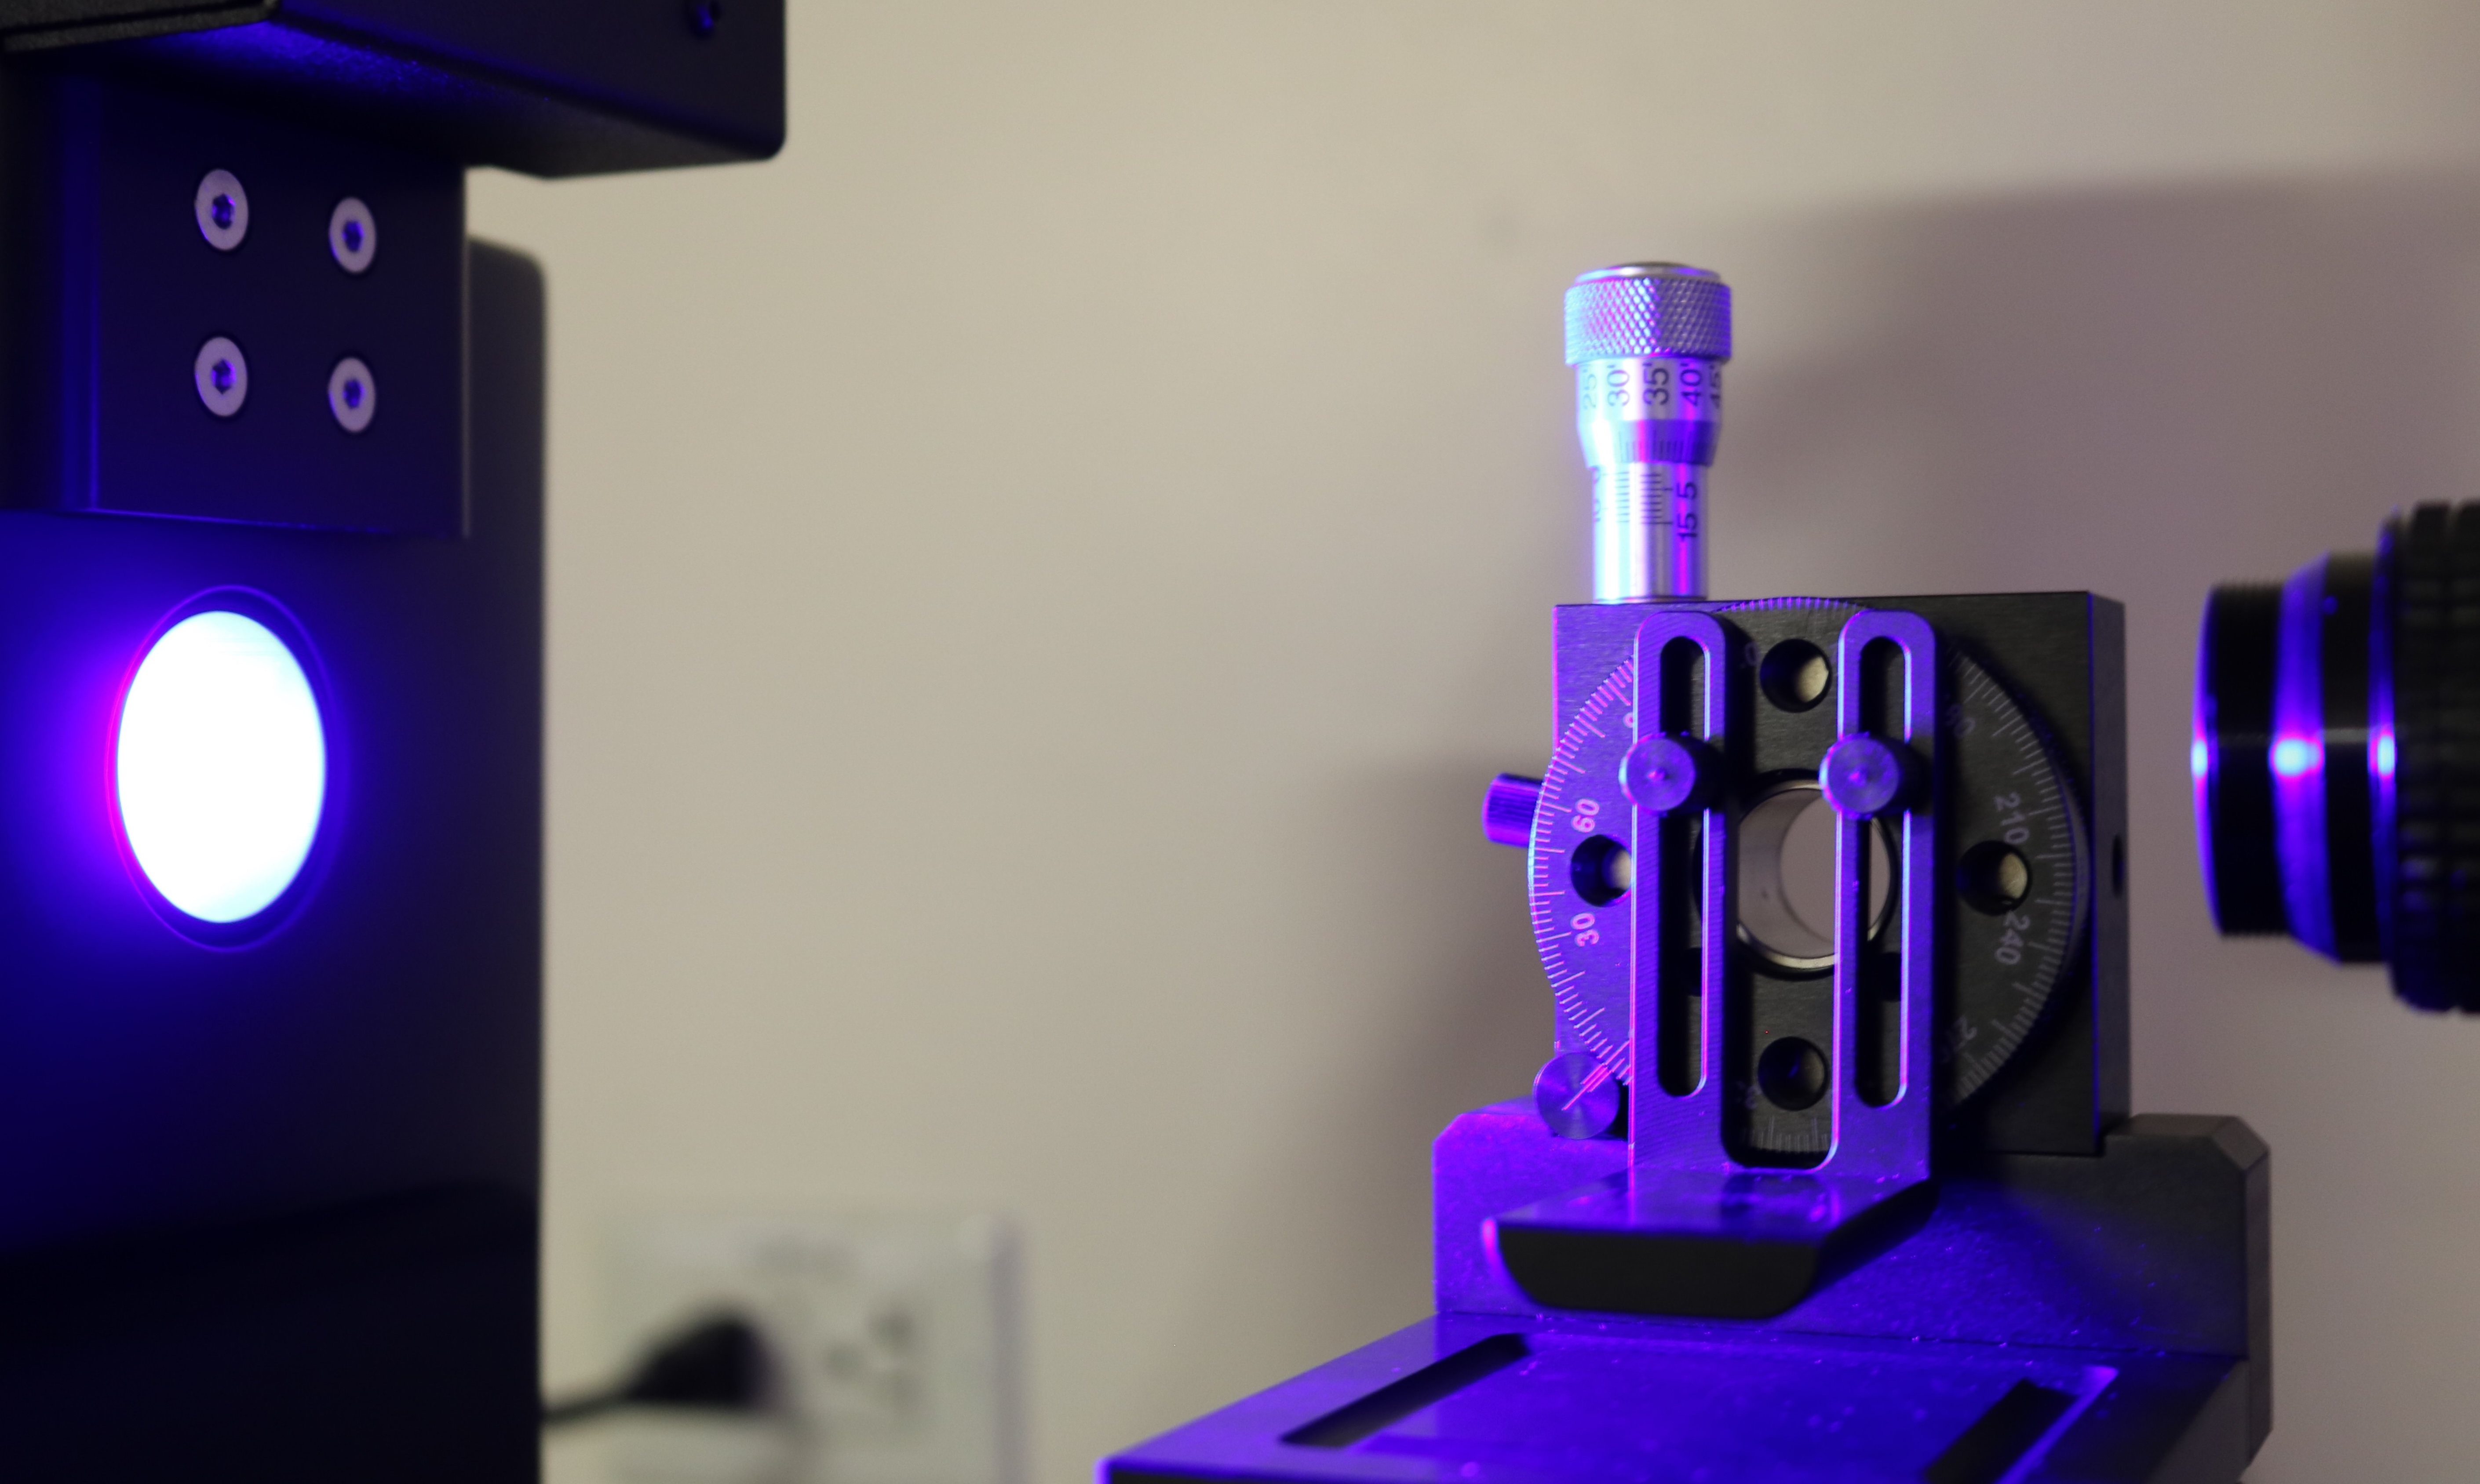
- The optical tensiometer measures the contact angle, surface and interfacial tension, dynamic contact angle, and surface free energy. Its camera has a speed of 138 fps with a 1984 x 1264 resolution and up to 3009 fps with a 672 x 57 resolution. Its software determines the contact angle using sessile and rising drops with automatic baseline detection, the surface and interfacial tensions using pendant and rising drops, and the contact angle using the liquid meniscus method.
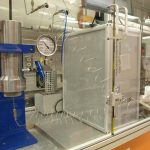 The permeameter is designed for transient conditions, and it measures the Klinkenberg-corrected permeability of dry or partially saturated samples down to 10 nano-darcies. It can be used with a core holder capable of a minimum of 1,000 psig pore pressure and a minimum of 1,500 psig confining stress.
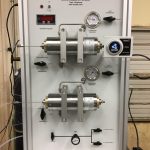 The custom-made permeameter is designed for steady-state conditions and measures permeability down to atto-Darcies. It has two core holders and can simultaneously analyze two samples with nitrogen or helium.
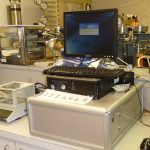 The device measures the sample porosity using helium, based on Boyle’s law. The measured porosity represents the total pore volume, not the connected porosity.
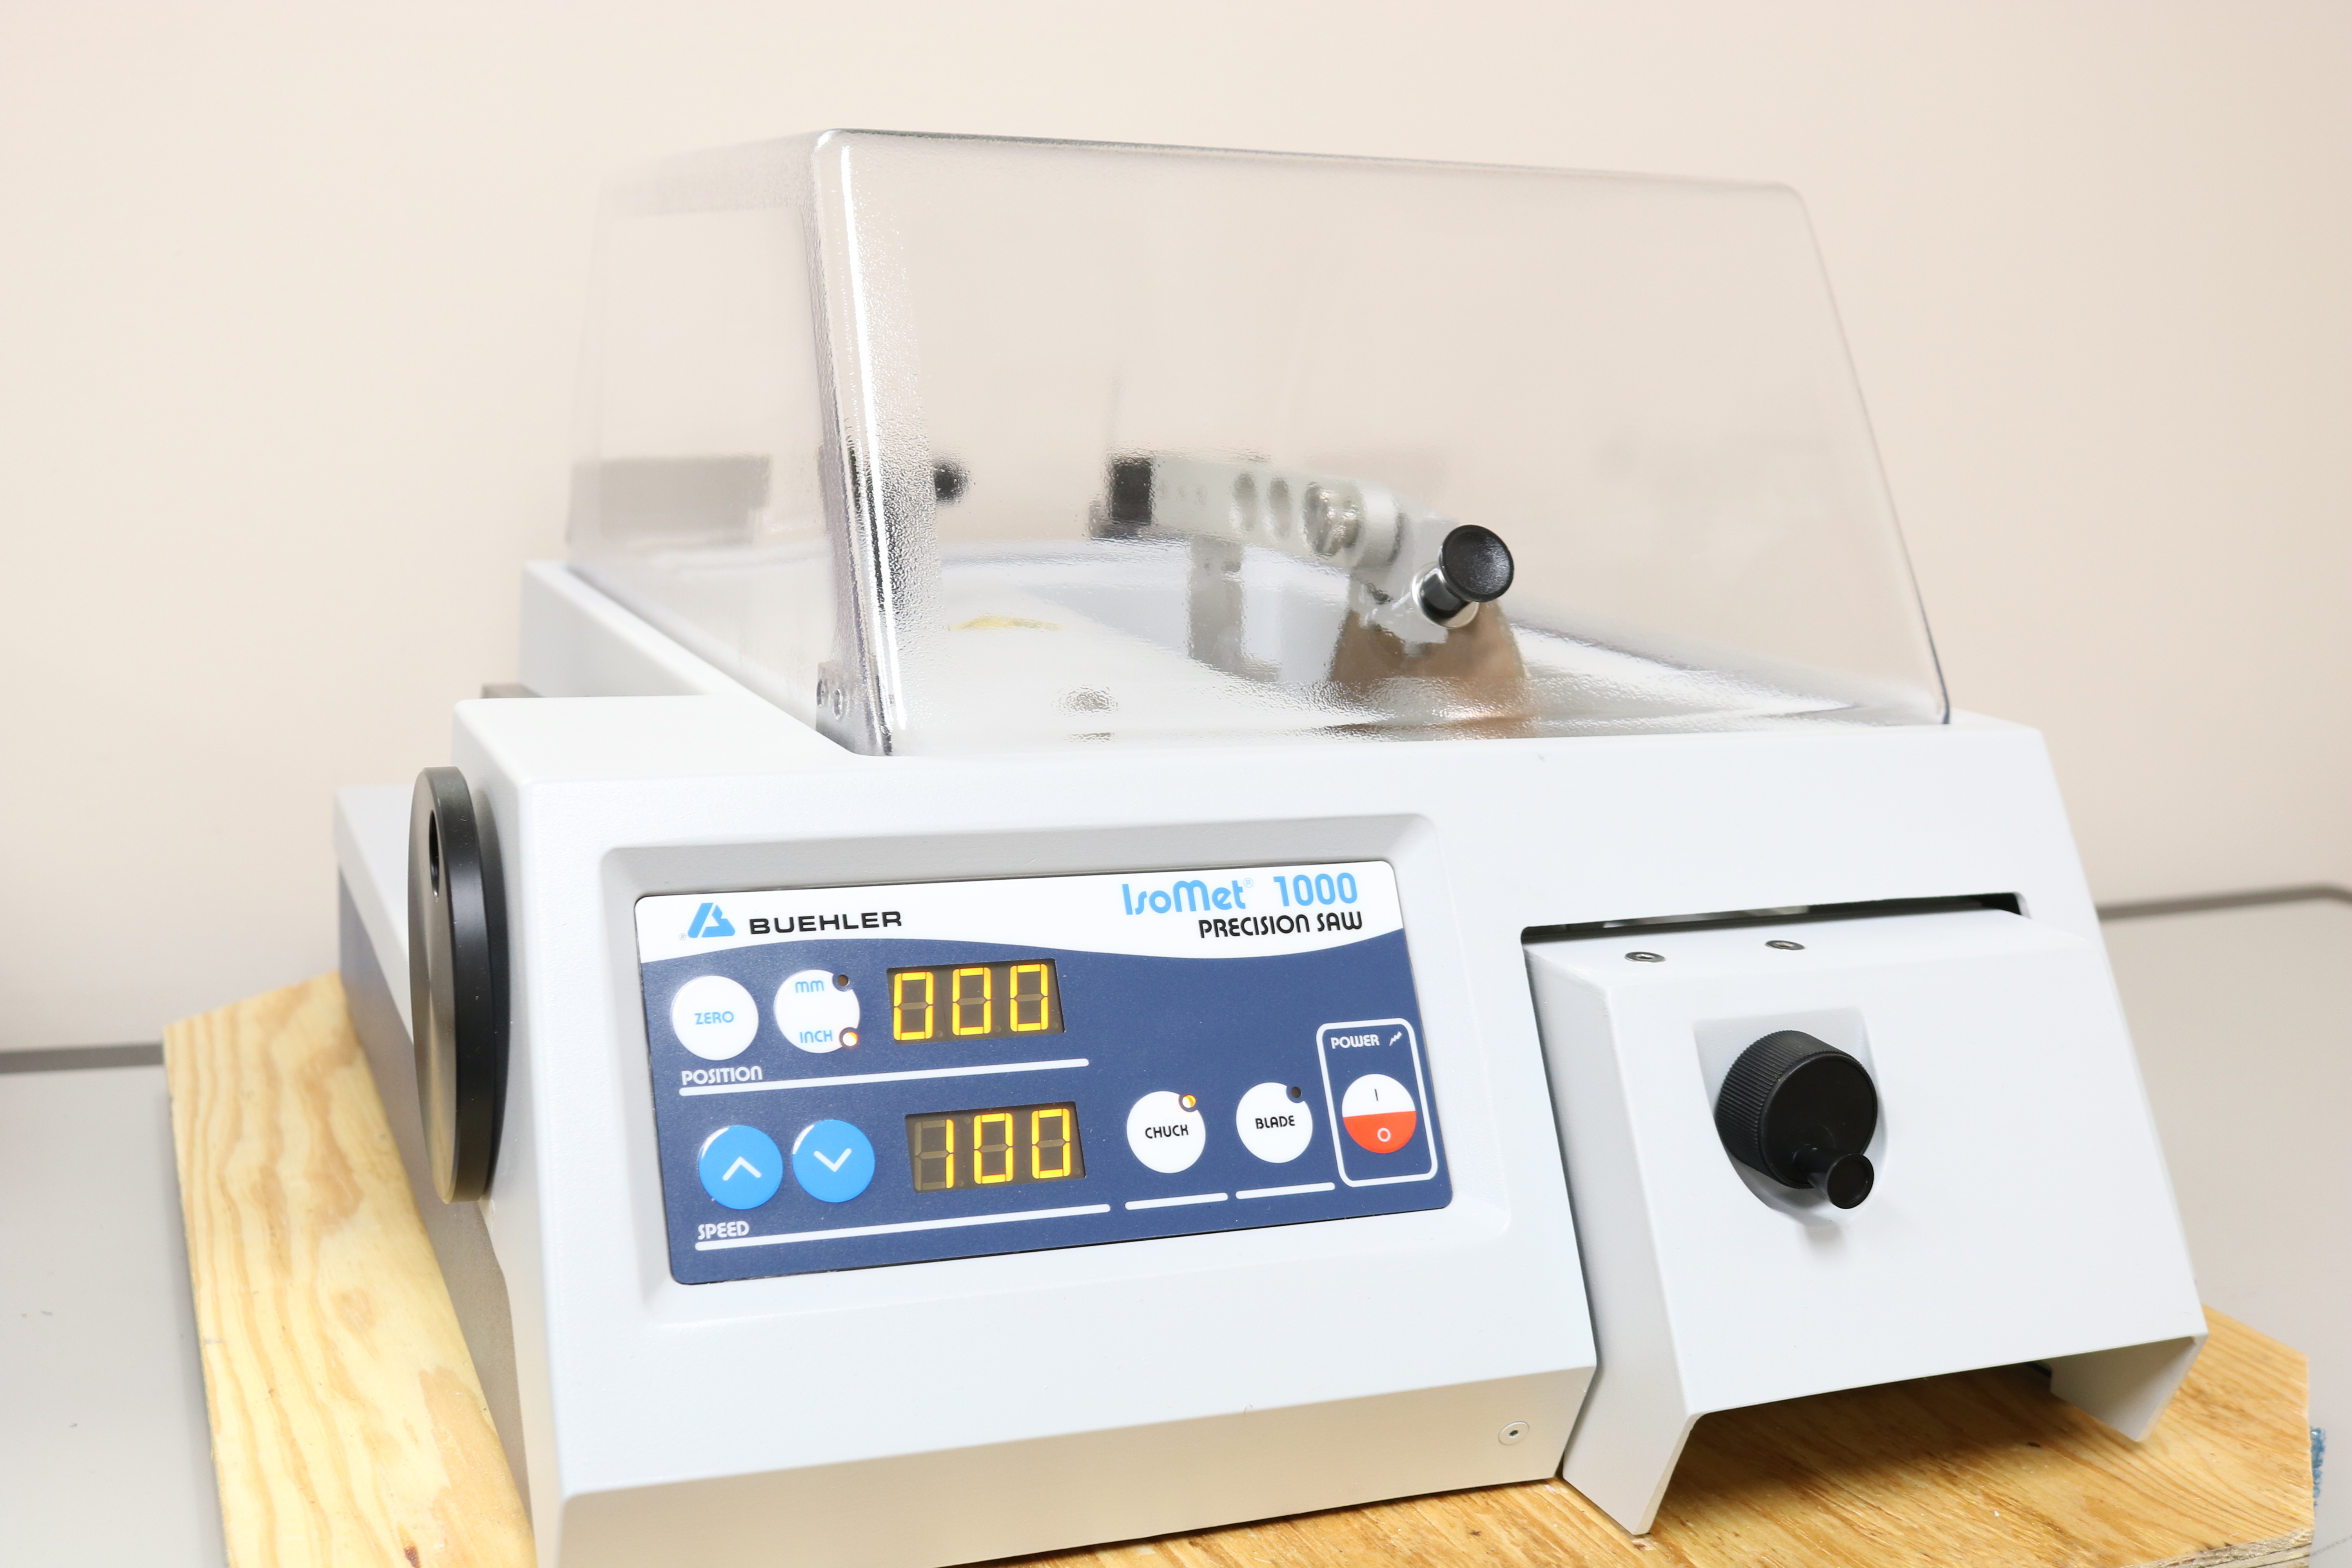
- The precision saw features an automatic cutoff switch, a counter-balanced sliding load weight system, 0-500 gram (0-800 gram with accessory weight kit), built-in inch or metric digital micrometer cross-feed for sample location, removable coolant tray with built-in dressing device, and 1/8 HP DC motor with continuously variable arbor speed of 100-975 RPM (25 RPM increments).
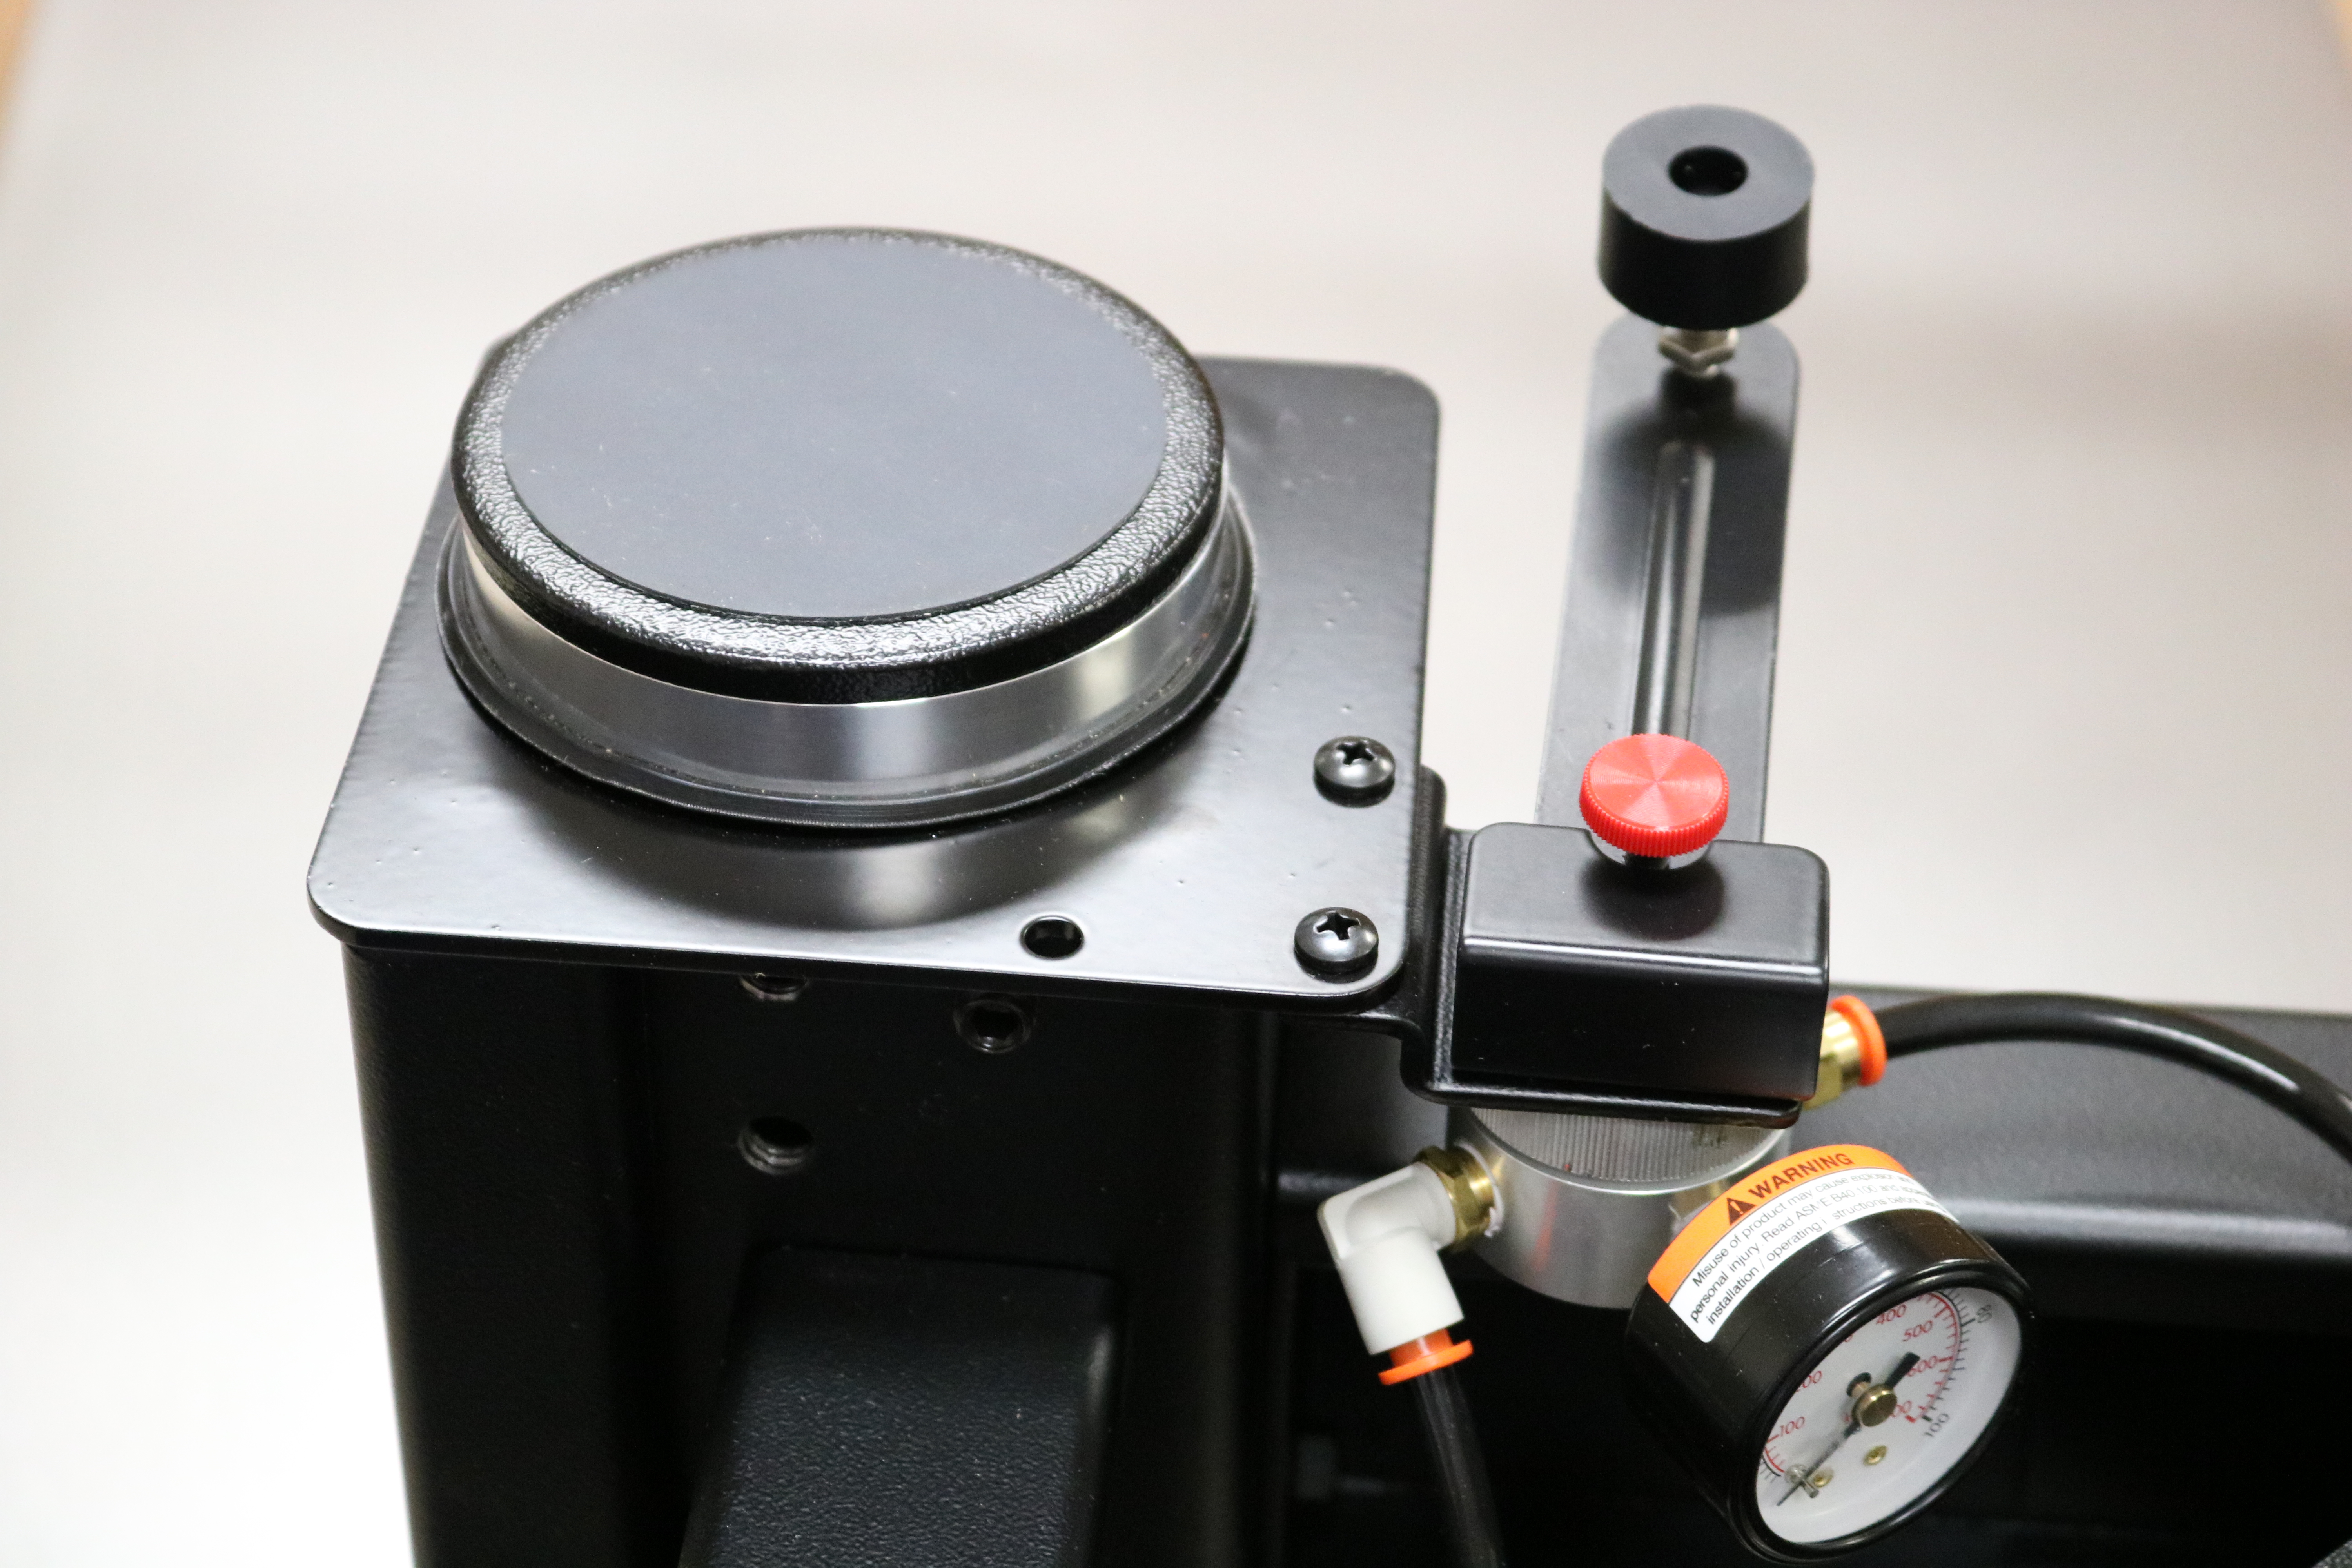 The vibration-isolation table is ideal for various applications, including nanoindentation. The low-profile and high-density top lowers the overall center of mass, ensuring stability, even for relatively top-heavy payloads. The vertical and horizontal isolation starts at 2 Hz and reduces vibration by 95% at 10 Hz.
 The oven is required for sample preparation. It applies a wide range of temperatures and provides a high standard of quality and stability by gravity or mechanical convection.
